_edited_edited.jpg)
DIY Priorities: Kids' Rooms (Phase 1, Rockstar Room)
- Jul 11, 2021
- 3 min read
*This post may contain affiliate links. Please see full affiliate disclosure here.
We made it. We finally made it into the house, and we hit the ground running. If you have been following along on my Instagram and have seen the inside of the house, then you already know that there is no lack of projects to be done. We won't be bored, that's for sure. That being said, it was important to us to prioritize which projects we wanted to tackle first, and the kids' rooms were at the top of the list. After a crazy few months, the mom guilt was real, and I really wanted to create a space for each kid that would make them feel at home; a space that really reflected their personalities. I started planning each room right away, and both kids (and I) are very happy with the ideas we chose.
I have been working on both rooms simultaneously, and both are almost completely finished. Luke's room is the most finished. This is mostly because we can't find the slat's to Mallory's mattress at the moment, so I can't finish assembling her bed. Oops. Luke's room does in fact have a mattress though, and so we'll cover that one first.
When I asked Luke what kind of room he wanted, he didn't hesitate for a second. He wanted a Rockstar Room. So Rockstar Room he got, and I have to say- I kind of want it to be my room. I love it that much!
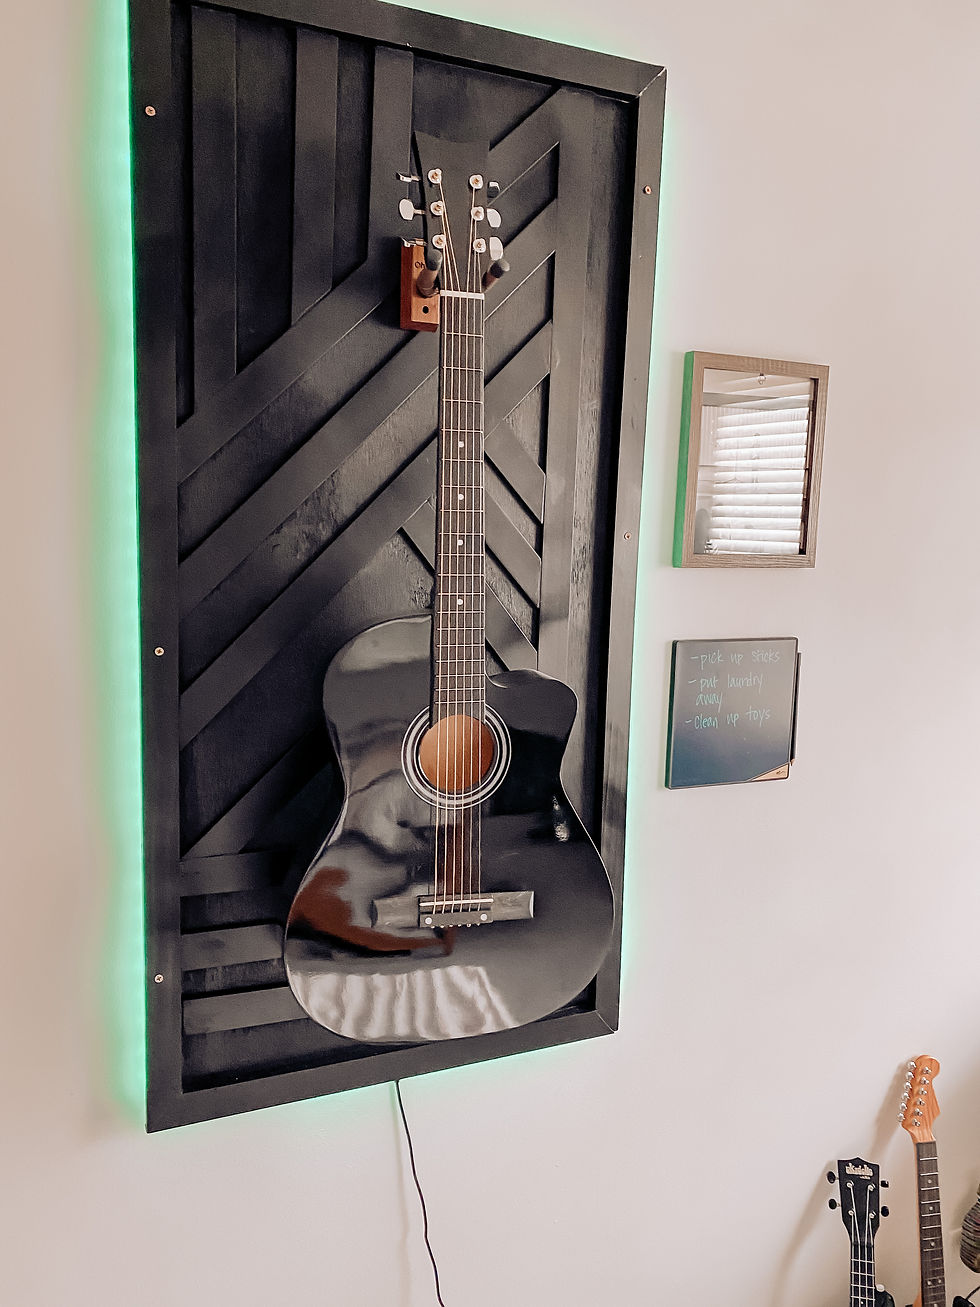
The first thought that comes to mind when I here "rockstar" is obviously a guitar, and so I knew that I needed to come up with a creative way to showcase his birthday present: an electric guitar (I found a used one on Craigslist- score!). Originally, I loved the idea of a wall feature in his room, but I had another cool idea planned for above his bed, so I shifted gears with the feature wall and decided to make a guitar frame that resembled a feature wall. Armed with a sheet of handiboard (a small, precut piece of plywood) and some pvc lattice trim (looks like wood but a fraction of the price), I went to work. I started by framing the plywood with 1x2 pine pieces, and cut the corners at a 45 to ensure a nice miter cut. I then scored and snapped the pvc pieces at desired lengths in order to create geometric lines. There was really no rhyme or reason to this process. I kind of just laid them out as I worked and the pattern that I ended up with reminded me of guitar strings, so it was perfect. A little spackle in the cracks and a coat of black spray paint, and the guitar frame was ready for the guitar hook, which I attached by screwing it to a piece of scrap wood on the back. I also added a few more scrap 1x2s along the back so that the frame wouldn't sit flush on the wall. I screwed the entire frame directly into the wall, and attached a strip of colorful lights from Amazon to the back (this is why I didn't want it flush). The finished product was a cool piece of art, conversation piece, and functional guitar holder that sits right by his door next to a framed photo of our little rockstar performing at a school concert. A new papasan chair and a geometric rug, and half the room was finished!
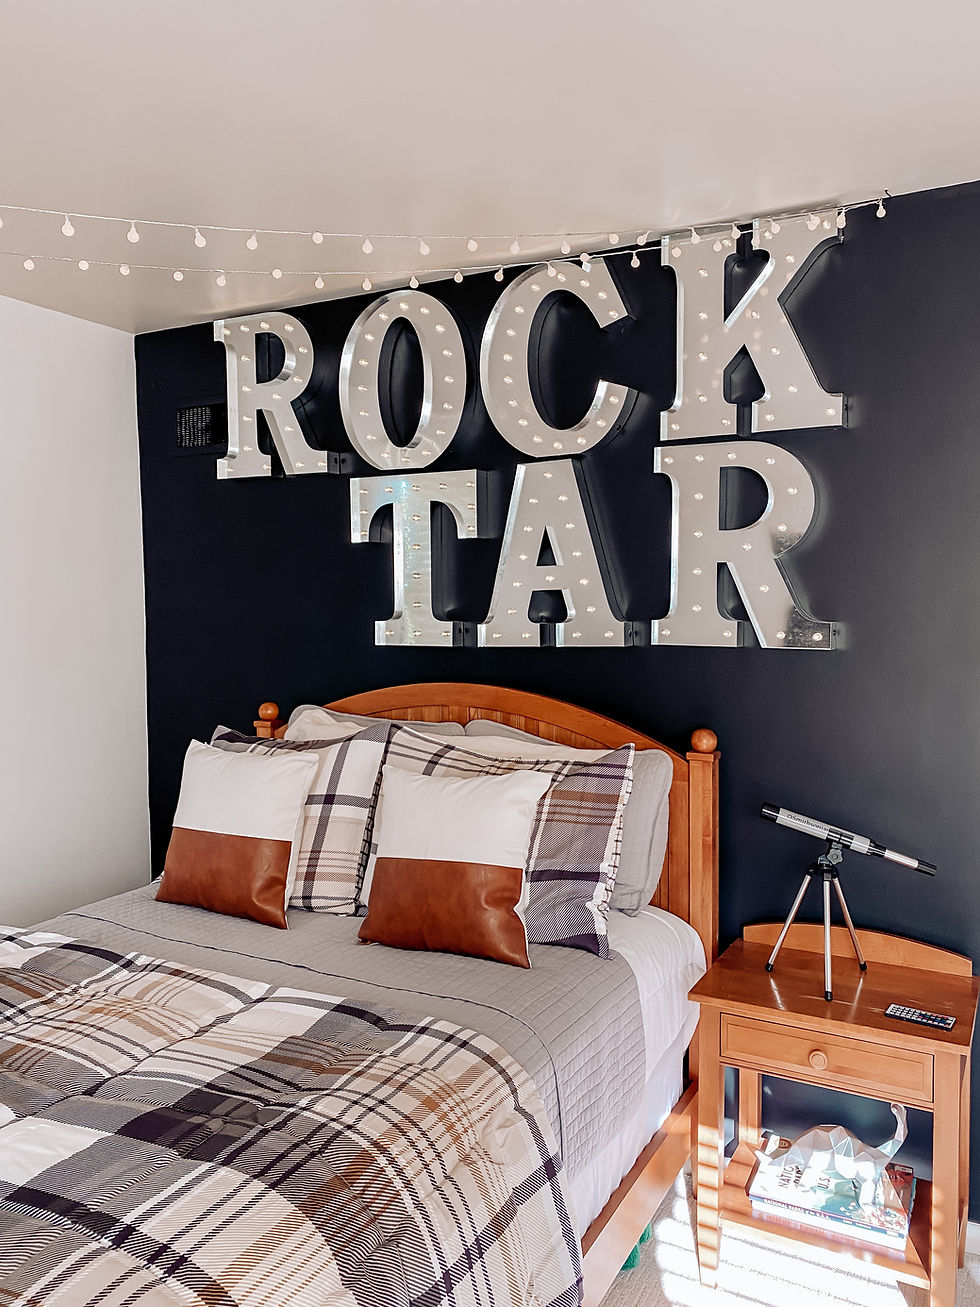
The next big project in the room was the wall that Luke's bed is on, and I had big plans for this. I saw a picture on Pinterest of these light up marquee letters in a kid's room, and I thought they would be perfect for the theme. I hung these above his bed, and against the Sherwin Williams Tricorn Black wall, I've gotta say.... they look pretty rad. I added some remote controlled twinkle lights, and a new plaid comforter, and I was set. And in case you were wondering... yes, I realize that I am missing a letter. But I can't find a 20" vintage, light up, marquee letter "S" ANYWHERE, so for now, it's a RockTar room. Can't win 'em all.
So, one room down! A rockstar room for a rockstar kid. Let's just hope he sleeps more than actual rockstars do!


Comments