That's a Wrap {Wreath}
- Liz
- May 29, 2019
- 4 min read

I love Memorial Day. It may even be one of my favorite holidays. It’s a time for reflection and relaxation, and the kick off of all things summer. For us, that means heading up to the lake, lots of family time, and if we are lucky, anticipating some nice weather for the next few months. Though we don’t really decorate for Memorial Day or the 4th of July around our house because we are generally out of town, adding a bit of patriotism to the front door is a nice touch, and this wreath is a perfectly easy way to display it. If you are like most sane individuals, you could just go out and buy a wreath if you really want one that badly. But, if you are like me, you might just enjoy the satisfaction of creating one yourself. Plus, the nice thing about this #diy is that it is incredibly versatile. You can easily make this wreath pertain to any holiday, party theme or season that you’d like. In fact, after Memorial Day week, I'll change it up a bit.
The Project
Creating a rope wreath seems pretty self explanatory, and I thought that it would be a quick project. It's a little bit more involved than I realized when I started, and so a tutorial should do just the trick to get you through the tough spots.
The Details
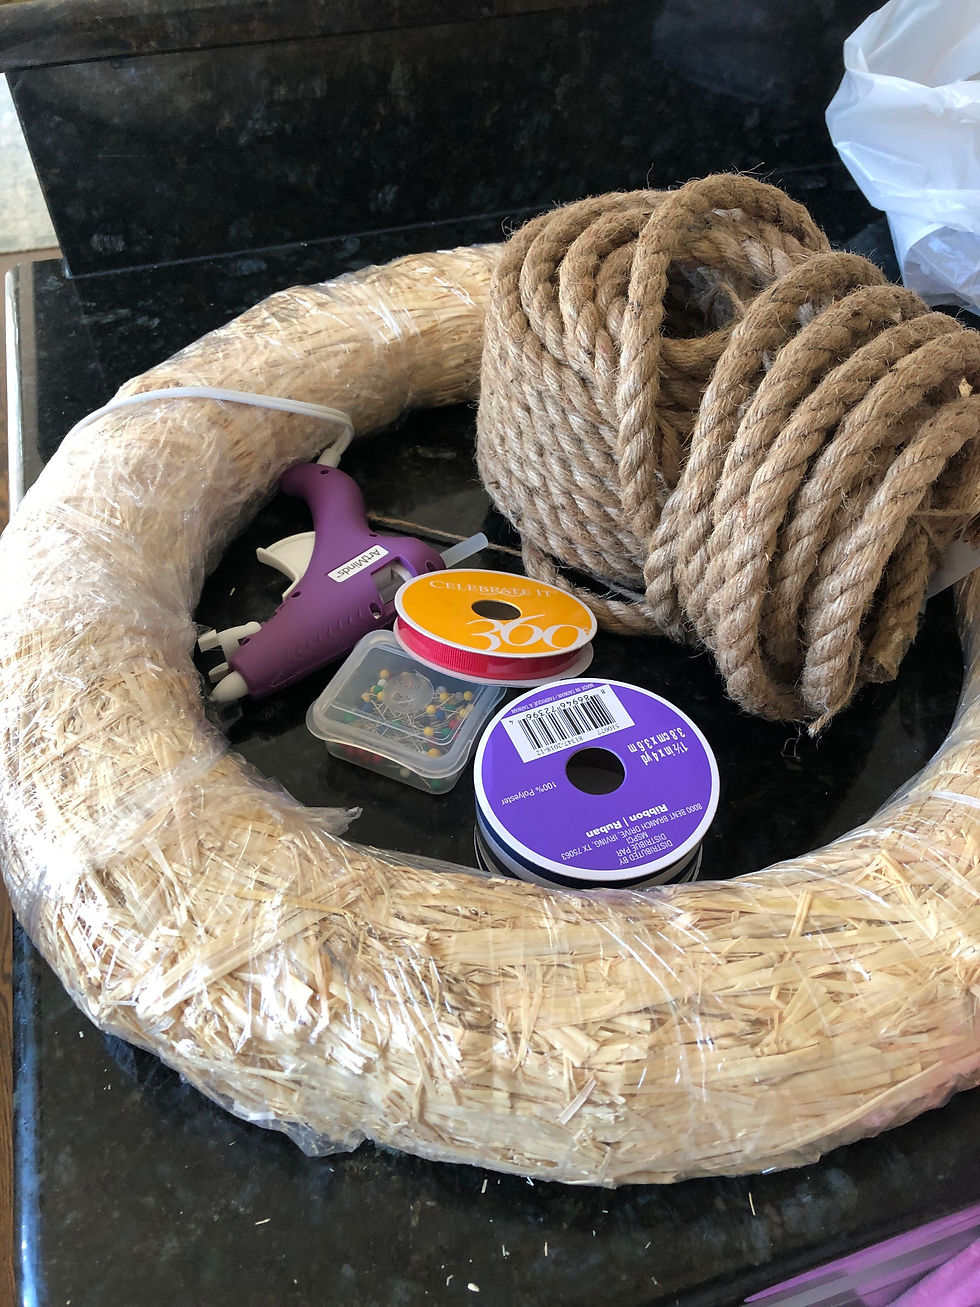
Supplies:
18" straw wreath
Jute rope of desired thickness
glue gun
push pins

This project started off like most of the others, in that I didn't know exactly what I was doing when I started. Yolo, right? Anyways, you might notice that I suggested using a straw wreath. Now you may be wondering why on earth I would make such a messy choice, and there is in fact a reason behind this. I knew that there would inevitably be small gaps between the rope when I was finished, and I thought that they would be the least noticeable with the straw wreath (versus the green styrofoam wreaths that you can get). Pro Tip (and I use that phrase incredibly loosely): You can save yourself from the mess by not actually unwrapping the wreath from the plastic wrap that it comes in from the store.
I started with 32 feet of the jute rope. It came in rolls of 16 feet, and I was completely shocked to discover that by the end, I used almost all of it to cover the wreath. I thought for sure I would be returning one of the rolls. Math can be hard, you know? To begin, I pinned the end of the rope to the back of the wreath and began to slowly wrap the rope around the wreath, being careful not to let it get twisted along the way. Don't get it twisted, people. As I wrapped, I would glue pieces down. I do NOT recommend gluing down all of the rope, because if you are anything like me, you may want to pull it off and re-apply here and there. Seems easy enough, right?

Right. Except for when it gets a little tricky, and about a quarter of the way through the wrapping process, you will discover just what I mean. Because of the shape of the wreath, you WILL be left with gaps here and there. Once the entire wreath is wrapped, all the while gluing and pinning as necessary, you will be left with gaps to fill. I tried everything to find a way to avoid these, but to no avail. I learned to embrace the gaps. Well, I learned to embrace them, and I also learned how to cover them up.
Armed with a glue gun and pins, you will want to use any extra rope that you have to fill those gaps. I found that if I cut the rope on an angle, I could squuueeze it in to the gap and glue it down.
I also used the pins on the back to secure the rope and wrap it back around as necessary, so that from the front of the wreath, the gaps are hardly noticeable. This part takes a little patience, but don't be afraid to re-do your work if you don't like the way it looks. Hang in there. Once you've got the rope situation all wrapped up (tee hee), feel free to grab any ribbon, fabric, or otherwise that you've got on hand, or that pertains to your season, event, or holiday. In this case, I actually started with ribbon, but didn't love the way it turned out. So I ended up finding a couple of bandanas and used those instead.
I love the way it turned out, and again, I love that I can very easily use it for another holiday or season if I want to. All in all, the entire project took me about 90 minutes, it was a fun project to do with my daughter, and now I have a cute new wreath on my front door. So, I'd call that a win... that's a wrap (sorry, I couldn't resist)!

_edited_edited.jpg)


Comments